Support Manager Darran Shepherd's Mazda Mx-5 and a. DriftBox. 1. Find the
wire that carries the. RPM signal: you may need to refer to a wiring diagram to
find ...
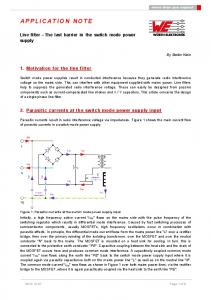
How to pick up vehicle RPM using a MICRO INPUT MODULE The new MICRO INPUT MODULE enables you to record your vehicle’s data synchronised with the GPS data in any Racelogic data logger. This guide will show you how to connect the module to your car and record RPM. To record RPM, you can take a digital pulse signal from a source such as an ECU to tachometer cable, or the negative side of a coil signal in your car. In this example we’re using Support Manager Darran Shepherd’s Mazda Mx-5 and a DriftBox.
1. Find the wire that carries the RPM signal: you may need to refer to a wiring diagram to find the correct wire, or consult an auto-electrician who can scope for the correct signal.
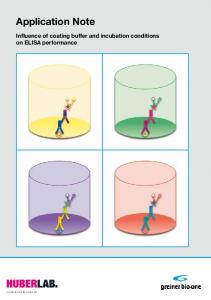
2. Pare back some of the wire sheathing.
3. Wrap a connecting wire onto the RPM signal wire, and screw this connecting wire into the RPM slot of the MICRO INPUT MODULE’S screw terminal.
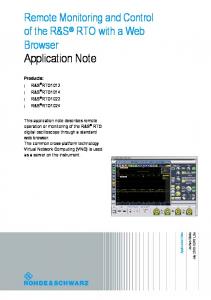
4. Connect the MICRO INPUT MODULE to your data logger (in this case a DriftBox), and start the vehicle’s engine.
In Darran’s Mx-5 we’re connecting to the ECU to tachometer wire.
5. Power up the DriftBox, without an SD card being inserted into the slot.
6. Enter the Input Module Mode – there should be an RPM value displayed on the screen at this point. If this value changes when you rev the engine, you know that the connection is correct. You can therefore solder the wire.
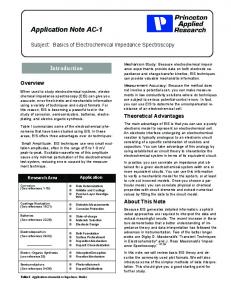
7. The values on the screen are probably different to the actual speed at which the engine is running, and will need to be scaled to display the correct RPM value. To do this, press the MENU button.
10. Enter the scale value required to correct the displayed RPM value. To do this, compare the vehicle’s actual RPM with the unscaled value on your RACELOGIC data logger. The vehicle’s RPM divided by the unscaled value is equal to the scale factor required. Note: the scale factor for RPM is usually 120 divided by the number of cylinders your vehicle has.
8. Select the channel that you wish to edit – in this case, the RPM channel.
• • • •
4 Cylinders: 6 Cylinders: 8 Cylinders: 12 Cylinders:
120 / 4 = Scale factor 30 120 / 6 = Scale factor 20 120 / 8 = Scale Factor 15 120 / 12 = Scale Factor 10
Therefore in the 4-cylinder MX-5, we set the scale to 30, which displays the correct RPM.
11. Press ACCEPT, and return to the main Module Mode screen. 12. Check the RPM values are correctly represented. If so, insert an SD card into the unit. RPM data will now be logged into any files you create!
9. Using the arrow buttons, scroll down to the Scale option, and press OK.
[email protected]